Miller Dynasty 200: A Comprehensive Manual Overview (as of 04/29/2026)
This manual, current as of today’s date (04/29/2026), provides crucial safety and operational guidance for Miller Dynasty 200 DX and SD models. Download the PDF for detailed instructions!
The Miller Dynasty 200 represents a significant advancement in portable TIG and stick welding technology. This machine, available in DX and SD models, is designed for professional welders demanding superior arc control, portability, and versatility. As of 04/29/2026, the Dynasty 200 continues to be a popular choice across diverse industries, including fabrication, maintenance, and repair.
This welding system offers exceptional performance in both AC and DC TIG processes, making it suitable for welding aluminum, stainless steel, and other metals. The Dynasty 200’s advanced features, such as pulse welding and AC balance control, allow for precise weld bead control and high-quality results. The availability of comprehensive documentation, including the owners manual in PDF format, ensures users can fully leverage the machine’s capabilities.
Miller prioritizes user safety and product reliability. The Dynasty 200 is built to withstand demanding work environments, and the accompanying manual provides detailed instructions on installation, operation, and maintenance. Understanding the features and following the guidelines outlined in the manual will maximize the lifespan and performance of your welding investment. Resources like ordering forms (ad4-8.pdf) are also available.
Safety Precautions and Warnings
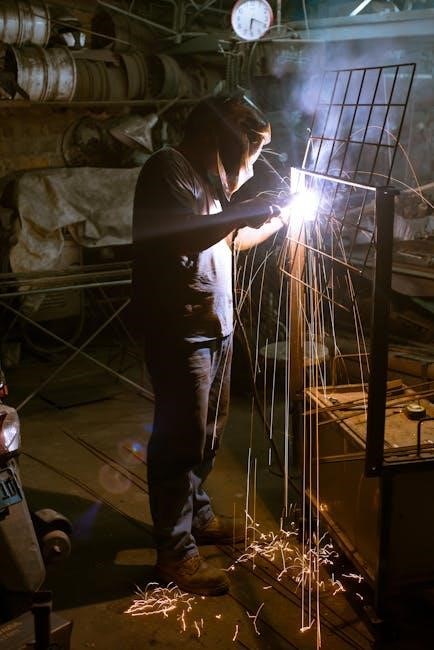
Prior to installing, operating, or servicing the Miller Dynasty 200 (DX or SD models), meticulously read and fully comprehend all labels and the Owners Manual. Safety is paramount; neglecting these instructions could result in severe injury or even death. The manual details critical hazards associated with arc welding, electrical shock, fumes, and gases.
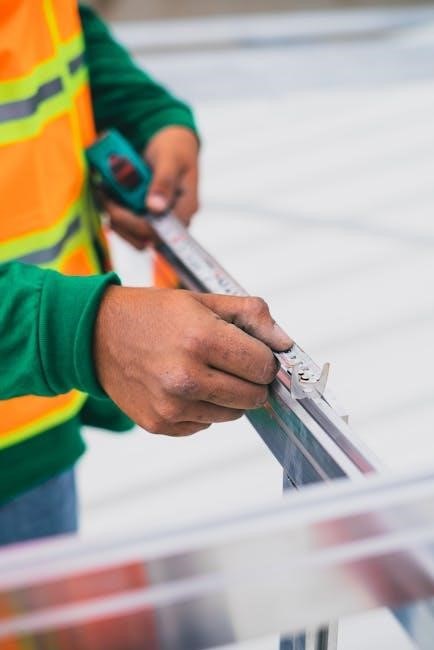
Always ensure proper grounding and electrical connections, adhering strictly to local and national electrical codes; Wear appropriate personal protective equipment (PPE), including a welding helmet with the correct shade, gloves, and fire-resistant clothing. Maintain a clean and organized welding area, free from flammable materials. Be aware of the potential for fire and have appropriate fire extinguishing equipment readily available.
The manual emphasizes the importance of ventilation to avoid inhaling harmful fumes. Never weld in confined spaces without adequate ventilation. Regularly inspect equipment for damage and ensure all safety devices are functioning correctly. Miller stresses that understanding these precautions is essential for safe and responsible welding practices. Refer to the PDF manual for complete safety guidelines.

Understanding the Dynasty 200 DX and SD Models
The Miller Dynasty 200 is available in two primary models: the DX and the SD. Both are advanced TIG (GTAW) and Stick (SMAW) welding machines designed for professional quality results. The DX model typically includes additional features and capabilities, often geared towards more complex welding applications and advanced users. The SD model provides a robust and reliable solution for a wider range of welding tasks.
Both models share a core set of functionalities, including precise arc control, pulse welding capabilities, and AC balance adjustment for aluminum welding. However, the DX may offer expanded pulse parameter control, remote control options, and enhanced programmability. The Owners Manual details the specific features and differences between each model, allowing users to maximize their welding performance.
Understanding these distinctions is crucial for selecting the appropriate model for your specific needs. Referencing the PDF manual provides a comprehensive comparison, outlining the capabilities of each machine and ensuring optimal utilization of your Miller investment.
Installation and Grounding Procedures
Proper installation and grounding are paramount for safe and effective operation of the Miller Dynasty 200. Before connecting to power, carefully inspect the unit for any damage sustained during shipping. Position the welder in a clean, dry, and well-ventilated area, ensuring sufficient space for operation and maintenance.
Grounding is critical for preventing electrical shock. Connect a properly sized grounding cable (as specified in the Owners Manual) from the grounding terminal on the machine to a known, reliable earth ground. This connection must be secure and free of corrosion. The manual emphasizes reading and following all labels regarding grounding.
Power cable connections should be made by a qualified electrician, adhering to all local and national electrical codes. Ensure the power source meets the voltage requirements of the Dynasty 200. Always disconnect power before performing any maintenance or adjustments. Refer to the PDF manual for detailed diagrams and specific grounding instructions.
Power Source Connections
Connecting the Miller Dynasty 200 to a suitable power source requires careful attention to detail and adherence to safety guidelines outlined in the Owners Manual. Verify the incoming power supply voltage matches the welder’s input voltage requirements – incorrect voltage can cause damage. Use appropriately sized cables and connectors, ensuring they are in good condition and securely connected.
The manual details specific wiring configurations for different power source types (e.g., 120V, 240V, 480V). A qualified electrician should perform these connections to guarantee compliance with local and national electrical codes. Always disconnect the power source before making or breaking any connections.
Proper fusing is essential for protecting both the welder and the power circuit. Consult the manual for the correct fuse or circuit breaker rating. Regularly inspect the power cables and connections for signs of wear or damage. Download the PDF version for detailed wiring diagrams and troubleshooting tips related to power source issues.
Duty Cycle and Overload Protection
The Miller Dynasty 200, like all welding machines, operates within specific duty cycle limitations. The Owners Manual clearly defines the duty cycle – the percentage of time you can weld at a given amperage within a 10-minute period. Exceeding this duty cycle triggers the overload protection system.
Overload protection prevents damage to the welder by temporarily shutting it down if it overheats. The manual details the amperage-dependent duty cycles, allowing you to plan your welding projects accordingly. Factors like ambient temperature and cooling efficiency influence the actual duty cycle.
Understanding the overload indicator is crucial. A lit indicator signals the welder needs to cool down before resuming operation. Repeated triggering of overload protection indicates a need to reduce amperage or allow for longer cooling periods. Refer to the PDF manual for detailed charts and troubleshooting steps related to duty cycle and overload issues. Proper ventilation is also key to maintaining optimal performance.
Front Panel Controls and Indicators
The Miller Dynasty 200’s front panel is the central hub for controlling welding parameters. The Owners Manual provides a detailed breakdown of each control and indicator. Key controls include amperage adjustment (typically a dial or digital display), gas flow settings, and mode selection (TIG, Stick, or Pulse).
Indicators illuminate to signal various machine states. These include power on/off, overload protection activation, and gas flow readiness. Understanding these indicators is vital for safe and efficient operation. The manual illustrates the panel layout, clearly labeling each component.
Digital models feature more advanced controls, such as waveform selection and pulse parameter adjustments. The PDF manual offers step-by-step instructions for navigating these features. Familiarize yourself with the panel before welding to ensure proper settings and avoid potential issues. Proper use of these controls maximizes welding precision and quality.
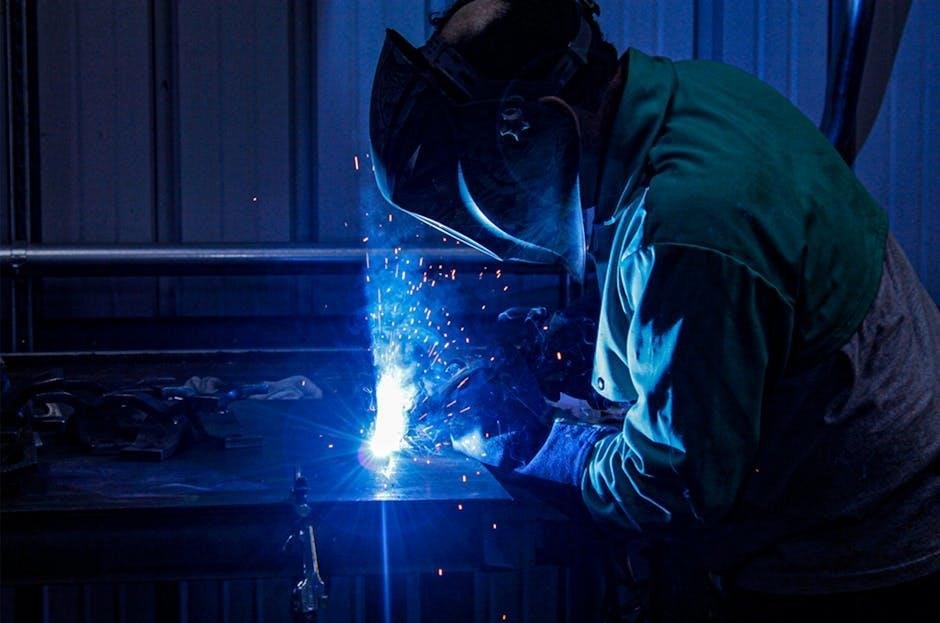
TIG Welding Process Explained
The Miller Dynasty 200 excels in Gas Tungsten Arc Welding (GTAW), commonly known as TIG welding. This process utilizes a non-consumable tungsten electrode to create an arc, melting the base metal. Shielding gas, typically argon, protects the weld pool from atmospheric contamination, ensuring a clean, high-quality weld.
The Owners Manual details the necessary components: a power source (the Dynasty 200), a TIG torch, shielding gas supply, and filler metal (if required). Successful TIG welding demands precise control over amperage, gas flow, and travel speed. The manual emphasizes maintaining a consistent arc length and proper torch angle.
Understanding the different TIG welding techniques – including autogenous welding (without filler) and filler metal addition – is crucial. The PDF version of the manual provides detailed diagrams and explanations. Mastering TIG welding with the Dynasty 200 requires practice and a thorough understanding of the process principles.

Setting Welding Parameters (Amperage, Voltage, Gas Flow)
Proper parameter settings are vital for optimal welding with the Miller Dynasty 200. The Owners Manual provides detailed guidance on establishing correct amperage, voltage, and gas flow rates. Amperage, controlled via the front panel, dictates heat input and weld penetration; the manual offers charts based on material type and thickness.
Voltage, often automatically adjusted in synergic TIG modes, influences arc characteristics. Gas flow, typically 15-20 cubic feet per hour (CFH) for argon, ensures adequate shielding. The manual stresses the importance of pre-flow and post-flow settings to protect the tungsten and weld pool.
Referencing the PDF version allows for precise adjustments. Incorrect settings can lead to porosity, tungsten contamination, or poor weld quality. Experimentation, guided by the manual’s recommendations, is key to achieving desired results. Always prioritize safety and consult the manual before making significant parameter changes.
Pulse Welding Features and Settings
The Miller Dynasty 200 excels with its advanced pulse welding capabilities, detailed within the Owners Manual. Pulse welding reduces heat input, minimizing distortion and improving control, especially on thinner materials. Key settings include peak amperage, background amperage, pulse frequency, and pulse duty cycle.
Peak amperage determines the maximum current during each pulse, while background amperage maintains the arc between pulses. Pulse frequency (pulses per second) affects weld bead appearance and penetration. Duty cycle controls the percentage of time spent at peak amperage.
The manual provides recommended starting points for various applications; Adjusting these parameters allows for fine-tuning weld characteristics. Utilizing the PDF version offers visual aids and detailed explanations. Mastering pulse settings enhances weld quality and expands the Dynasty 200’s versatility. Experimentation, guided by the manual, is crucial for optimal results.
AC Balance Control for Aluminum Welding
The Miller Dynasty 200’s AC balance control is critical for successful aluminum welding, thoroughly explained in the Owners Manual. This feature adjusts the proportion of time spent in the electrode positive (EP) and electrode negative (EN) portions of the AC cycle.
A higher AC balance (more EP time) increases cleaning action, removing oxide layers from the aluminum. However, excessive EP time can lead to a wider weld bead and increased heat input. Conversely, a lower AC balance (more EN time) provides deeper penetration but may reduce cleaning effectiveness.
The manual details recommended balance settings based on aluminum alloy and thickness. Fine-tuning is essential for achieving optimal weld quality. Referencing the downloadable PDF provides visual examples of balance effects. Proper AC balance ensures a clean, strong, and aesthetically pleasing aluminum weld. Understanding this control, as outlined in the manual, unlocks the Dynasty 200’s full potential.
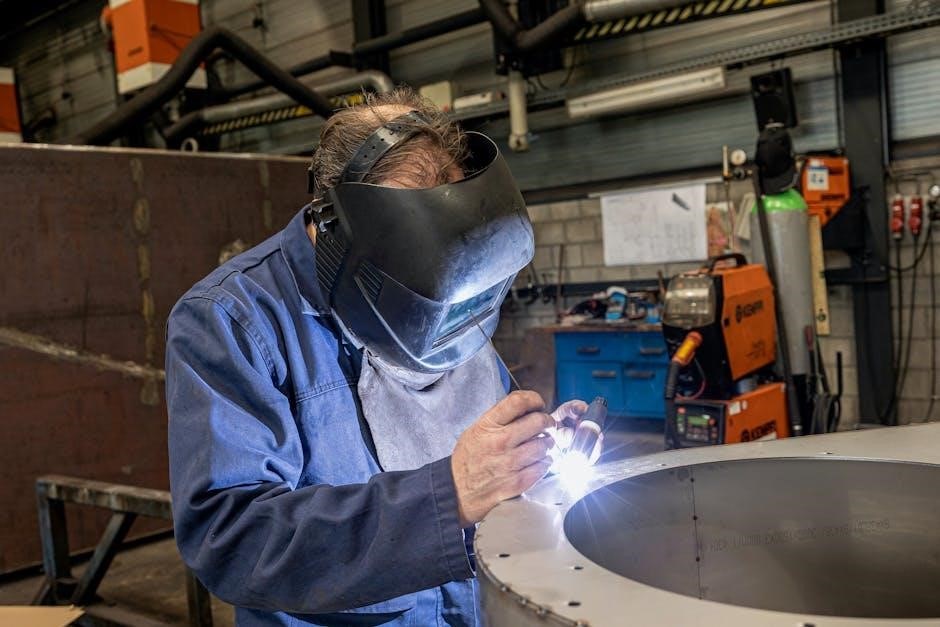
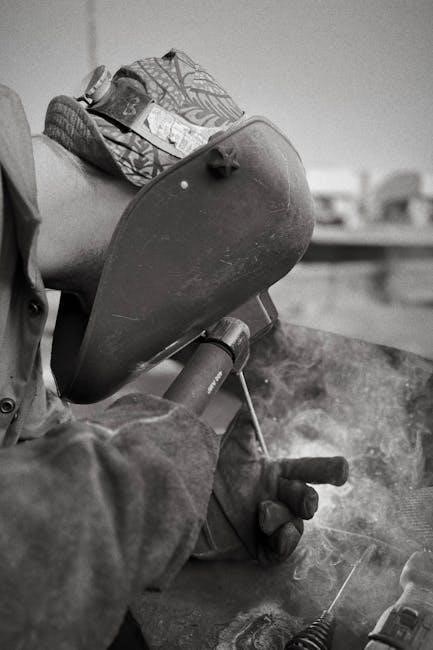
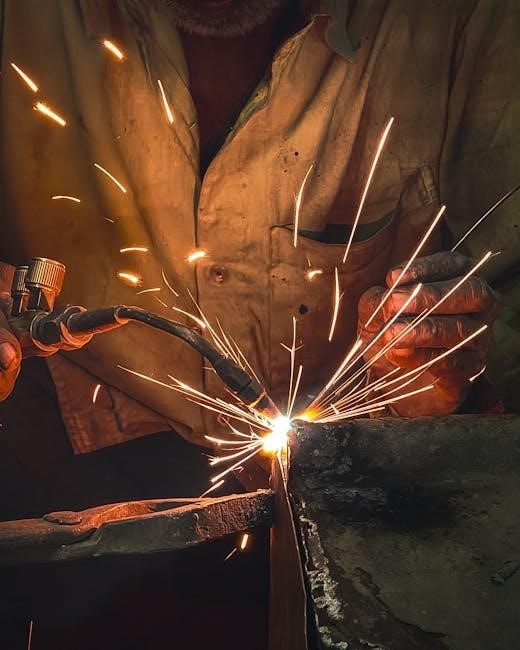
Torch Selection and Maintenance
The Miller Dynasty 200’s performance is heavily reliant on proper torch selection and diligent maintenance, as detailed in the Owners Manual. Choosing the correct torch – air-cooled or water-cooled – depends on amperage requirements and duty cycle. The manual provides guidance on compatible torch models;
Regular inspection of the torch cable, gas hose, and consumables is crucial. Look for cracks, wear, or damage. The manual emphasizes cleaning the gas diffuser and nozzle to prevent contamination. Proper collet and body maintenance ensures arc stability.
The downloadable PDF version of the manual includes exploded diagrams for easy parts identification and replacement. Following the recommended maintenance schedule, outlined within, extends torch life and optimizes welding performance. Neglecting torch maintenance can lead to poor weld quality and potential safety hazards. Always disconnect power before performing any maintenance, as highlighted in the manual.
Consumable Parts Guide (Tungsten, Nozzles, Gas Cups)
The Miller Dynasty 200 requires specific consumable parts for optimal TIG welding, detailed in the Owners Manual. Tungsten electrode selection – including alloy, diameter, and taper – is critical and depends on the material being welded and amperage used. The manual offers a comprehensive chart.
Nozzles (cups) protect the tungsten and focus the shielding gas. Ceramic nozzles are standard, but quartz nozzles are recommended for higher heat applications. The manual specifies nozzle sizes based on tungsten diameter and joint configuration. Gas cups should be inspected for cracks and replaced regularly.
Proper gas flow relies on a clean and undamaged gas lens; The downloadable PDF manual provides part numbers for all consumables. Using genuine Miller parts ensures compatibility and performance. Refer to the manual for detailed diagrams and replacement instructions. Maintaining adequate consumable stock minimizes downtime and ensures consistent weld quality.

Troubleshooting Common Issues
The Miller Dynasty 200, while robust, can encounter issues. The Owners Manual is your first resource for diagnosis. Common problems include unstable arc, poor weld quality, and machine errors. An unstable arc often indicates insufficient shielding gas, a contaminated tungsten, or improper grounding – consult the manual for checks.
Poor weld quality can stem from incorrect parameters, a worn tungsten, or inadequate joint preparation. Refer to the parameter setting guides within the manual. Error codes, detailed in a dedicated section of the PDF, pinpoint specific faults. For example, an overload error requires allowing the machine to cool.
If the machine fails to power on, check the power source connection and input voltage. The manual provides a troubleshooting flowchart. Always disconnect power before inspecting internal components. If issues persist, contact a qualified Miller service technician. Remember to document any error codes before seeking assistance.
Understanding Error Codes
The Miller Dynasty 200 utilizes a system of error codes to quickly diagnose internal issues. These codes, comprehensively detailed in the Owners Manual’s PDF version, provide specific information about the fault. Ignoring error codes can lead to further damage or unsafe operation.
Common codes include “OC” (Open Circuit), indicating a break in the welding circuit, often due to a faulty torch or poor connection. “OVL” signals an overload condition, requiring the machine to cool down before resuming operation. “Gas” indicates a problem with the shielding gas supply – check connections and cylinder pressure.
The manual provides a complete list of codes, their descriptions, and recommended corrective actions. For example, a “TEMP” code signifies overheating, requiring ventilation checks. Always record the error code before attempting repairs or contacting Miller support. Proper interpretation of these codes is crucial for efficient troubleshooting and maintaining the welder’s performance.
Maintenance Schedule and Procedures
Regular maintenance is vital for the longevity and optimal performance of your Miller Dynasty 200. The Owners Manual outlines a detailed schedule, categorized by operating hours. Routine checks include inspecting gas hoses for leaks, cleaning the welding cables and connections, and verifying proper grounding.
Periodically, the cooling system (if equipped) requires attention – check coolant levels and flush the system as recommended. Internal components, like fans and blowers, should be inspected for dust accumulation and cleaned accordingly. Tungsten electrode preparation and proper torch maintenance are also crucial aspects.
The manual’s PDF version provides step-by-step procedures for each task. Ignoring maintenance can lead to component failure and void the warranty. Always disconnect the power source before performing any maintenance. Following the schedule ensures reliable operation and minimizes downtime, maximizing your investment in this high-quality welding machine.
Accessing Additional Resources and Documentation (PDF Manuals)
Comprehensive resources for your Miller Dynasty 200 are readily available online. The official Miller website hosts a digital library of documentation, including the complete Owners Manual in PDF format. This PDF provides in-depth information on all aspects of operation, maintenance, and troubleshooting.

While some older links may be outdated (as noted in online searches), Miller actively maintains its resources. Searching “Miller Dynasty 200 DX owners manual” or “Dynasty 200 SD manual” will lead you to the current official downloads. These manuals cover both the DX and SD models.
Furthermore, Miller offers literature ordering forms (like ad4-8.pdf referenced online) for printed materials. Online forums and welding communities can also provide valuable support and shared experiences. Always prioritize official Miller documentation for accurate and up-to-date information regarding your welding power source.